
How to Build a Nutrition Tracker App Using the Foodie API Written on . Posted in Marketing.
Your Complete Step-by-Step Developer Guide
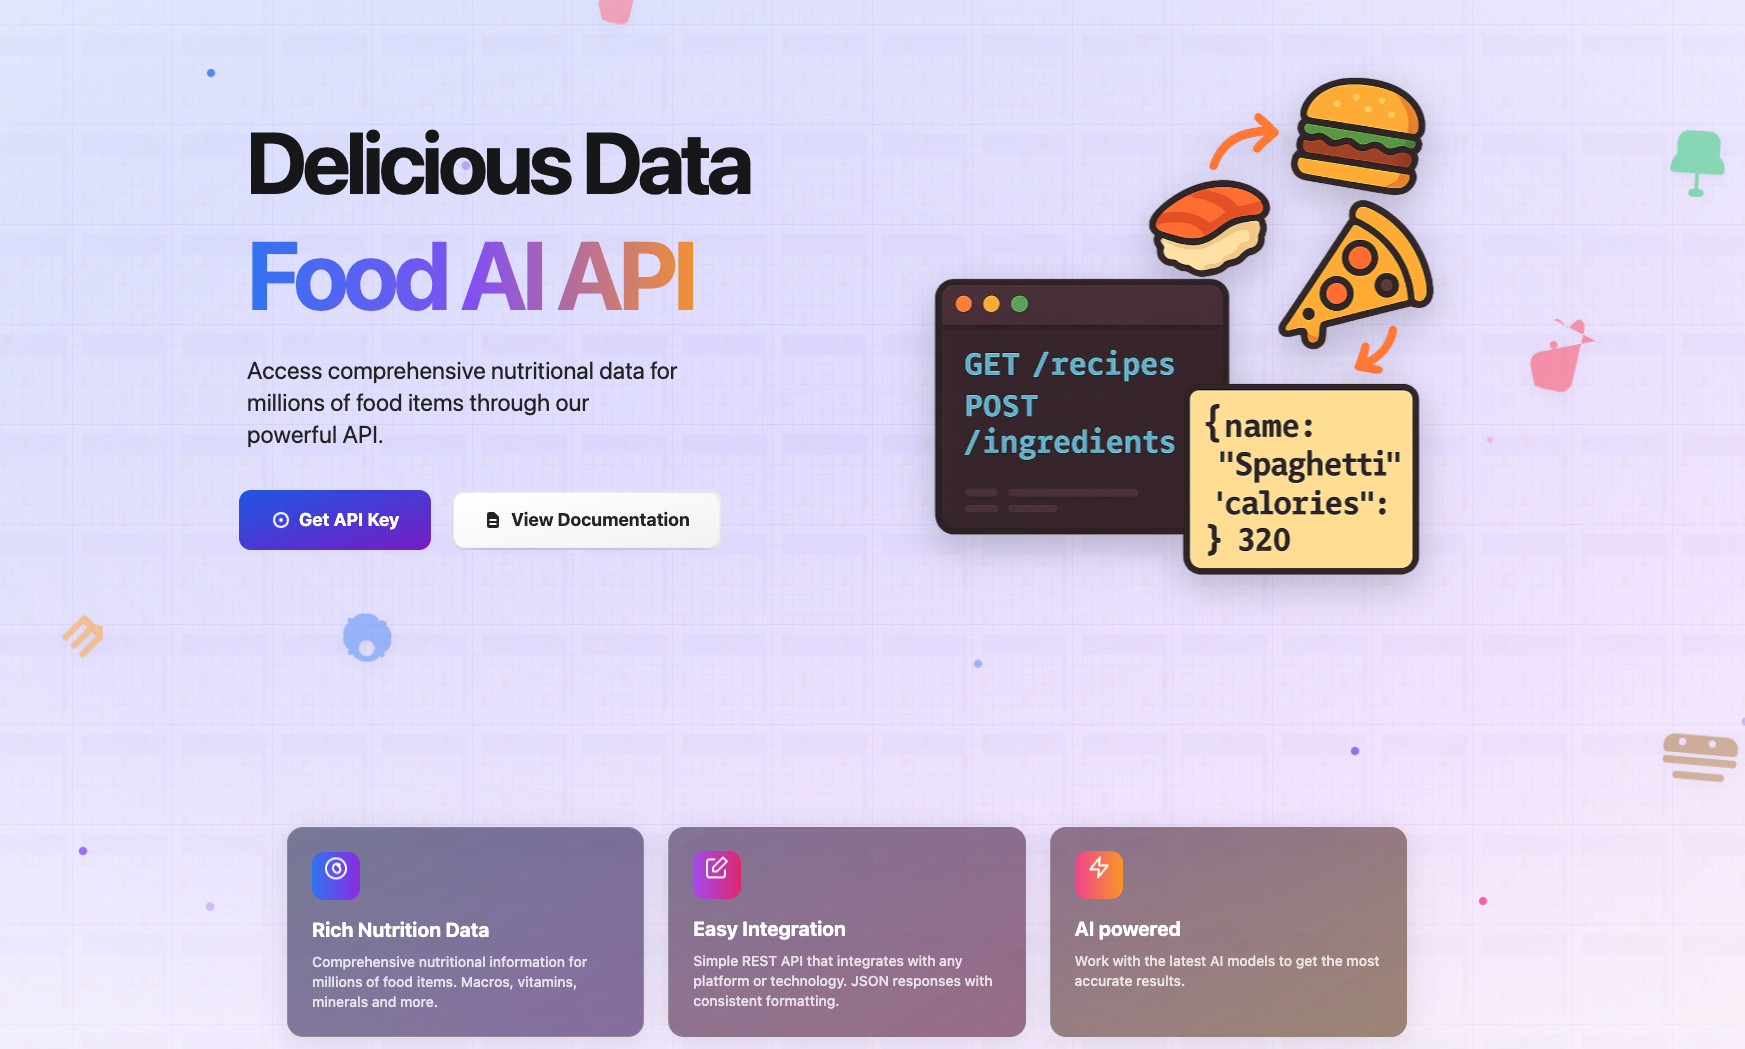
The health and fitness industry has exploded in recent years, with mobile apps at the heart of this growth. If you’re a developer looking to enter this space, a nutrition tracker app is a perfect project. Thanks to Foodie API (https://foodapi.devco.solutions/), fetching and analyzing nutritional information has never been easier.
In this guide, we'll walk through how to build a simple but production-ready Nutrition Tracker App using the Foodie API. You’ll learn about:
- Setting up your environment
- Authenticating with the API
- Fetching nutritional data from food images or descriptions
- Displaying results in a clean React interface
Let’s dive in.
1. Setting Up Your Development Environment
First, make sure you have the basics ready:
- Node.js installed (v18+ recommended)
- React.js app (you can use Vite or Create React App)
- TailwindCSS (for fast UI)
- API key from Foodie API (sign up here)
Create a new project:
npm create vite@latest nutrition-tracker --template react
cd nutrition-tracker
npm install
npm install axios
npm install -D tailwindcss postcss autoprefixer
npx tailwindcss init -p
Configure Tailwind in your tailwind.config.js and index.css.
2. Get Your Foodie API Key
Once you’ve signed up on Foodie API, you’ll get an API key.
Save this safely—you'll need it for authentication.
Create a .env file in your project root:
VITE_FOODIE_API_KEY=your_real_api_key_here
Load it into your app using import.meta.env.VITE_FOODIE_API_KEY.
3. Build the Nutrition API Service
Let’s make a simple Axios wrapper around the Foodie API:
// src/api/foodie.ts
import axios from "axios";

const foodie = axios.create({
  baseURL: "https://foodapi.devco.solutions/api",
  headers: {
    "Authorization": `Bearer ${import.meta.env.VITE_FOODIE_API_KEY}`,
    "Content-Type": "application/json",
  },
});

export async function analyzeFood(description: string) {
  const response = await foodie.post("/nutrition", {
    query: description,
  });
  return response.data;
}
In this case, we’re assuming Foodie API accepts query payloads (description or food name).
4. Create the User Interface
We'll design a simple input + nutrition facts result view.
// src/components/NutritionTracker.tsx
import { useState } from "react";
import { analyzeFood } from "../api/foodie";

export default function NutritionTracker() {
  const [query, setQuery] = useState("");
  const [nutrition, setNutrition] = useState(null);
  const [loading, setLoading] = useState(false);

  async function handleSubmit(e: React.FormEvent) {
    e.preventDefault();
    setLoading(true);
    try {
      const data = await analyzeFood(query);
      setNutrition(data);
    } catch (error) {
      console.error("Failed to fetch nutrition data", error);
    } finally {
      setLoading(false);
    }
  }

  return (
    <div className="max-w-xl mx-auto mt-10 p-6 shadow rounded-2xl bg-white">
      <h1 className="text-2xl font-bold mb-4">Nutrition Tracker</h1>
      <form onSubmit={handleSubmit} className="flex flex-col gap-4">
        <input
          type="text"
          placeholder="Enter a food item e.g., 'Grilled Chicken Salad'"
          value={query}
          onChange={(e) => setQuery(e.target.value)}
          className="p-2 border rounded"
          required
        />
        <button
          type="submit"
          className="bg-blue-600 text-white py-2 rounded hover:bg-blue-700"
          disabled={loading}
        >
          {loading ? "Analyzing..." : "Get Nutrition Info"}
        </button>
      </form>

      {nutrition && (
        <div className="mt-6">
          <h2 className="text-xl font-semibold">Nutrition Facts</h2>
          <ul className="list-disc list-inside mt-2">
            <li>Calories: {nutrition.calories} kcal</li>
            <li>Protein: {nutrition.protein} g</li>
            <li>Fat: {nutrition.fat} g</li>
            <li>Carbs: {nutrition.carbs} g</li>
            {/* extend as needed */}
          </ul>
        </div>
      )}
    </div>
  );
}
Mount it in your App.tsx:
import NutritionTracker from "./components/NutritionTracker";

function App() {
  return (
    <div className="min-h-screen bg-gray-50 p-4">
      <NutritionTracker />
    </div>
  );
}

export default App;
5. Testing Your Nutrition Tracker
Run the development server:
npm run dev
You should now see a form where you can enter any food name (e.g., "Avocado Toast") and get a full nutrition breakdown fetched live from the Foodie API.
If you encounter CORS issues, you may need to proxy the API calls through a small backend server or configure a proxy for dev mode.
6. Extending the App
Once the MVP works, you can:
- Upload food images and integrate Foodie API’s image recognition endpoints
- Save history of searched foods using localStorage or Supabase
- Add calorie goals and progress tracking
- Filter meals by dietary needs (keto, vegan, gluten-free)
- Deploy the app to Vercel or Netlify with a few clicks
7. Conclusion
Building a nutrition tracker with the Foodie API is incredibly straightforward. You get powerful machine learning-driven nutrition analysis without needing a massive food database or complex AI models yourself.
With a few endpoints and a clean React front-end, you can deliver real value to fitness enthusiasts, dieters, and health-focused users.
🔵 Pro Tip: If you’re planning to launch commercially, consider caching nutrition responses to reduce API usage costs and improve speed.